5 Steps to Configure Okta with AWS IAM Identity Center
Learn how to seamlessly integrate an identity provider with AWS IAM Identity Center, enhancing user management and security in five straightforward steps.

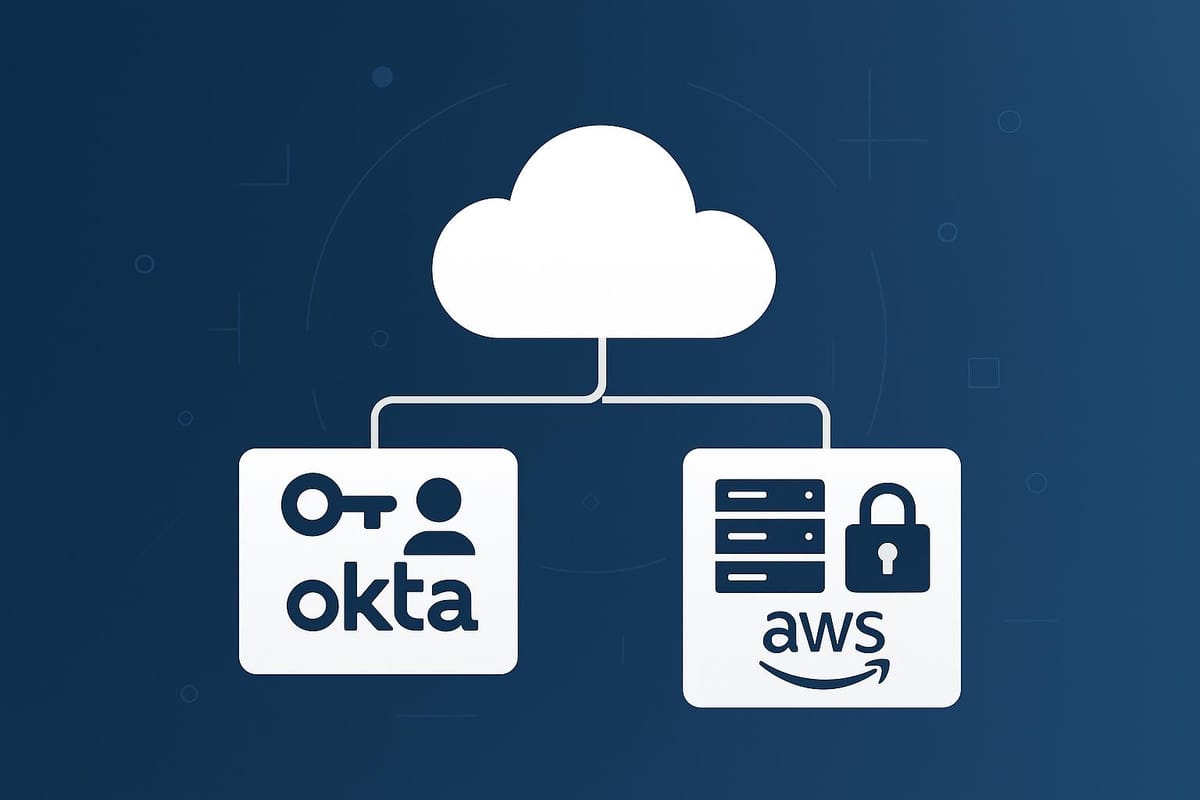
Want to simplify user management and enhance security for your AWS environment? Integrating Okta with AWS IAM Identity Center can help. This guide breaks down the process into 5 simple steps, making it easy to set up and manage.
What You'll Achieve:
- Centralised Access Control: Manage all user authentication and permissions in one place.
- Automated User Provisioning: Save time with SCIM synchronisation.
- Enhanced Security: Enforce MFA and consistent policies across AWS resources.
- Streamlined Administration: Reduce IT workload with automated identity management.
Quick Steps:
- Set Up Identity Provider Trust: Configure SAML for secure connection between Okta and AWS.
- Enable SCIM Provisioning: Automate user and group synchronisation.
- Map Groups to AWS Permissions: Assign roles and permission sets based on user groups.
- Configure MFA: Add an extra layer of security for AWS access.
- Test the Integration: Verify everything works as expected.
By following these steps, you’ll strengthen security, simplify user management, and ensure a smooth experience for your organisation. Let’s get started!
How to Setup Okta as an Identity Provider in AWS IAM Identity Center

Step 1: Set Up Identity Provider Trust
Create a secure connection between Okta and AWS IAM Identity Center by establishing SAML trust for authentication.
Configure Okta Settings
Access your Okta dashboard to configure the AWS IAM Identity Center application. Use the table below to guide your setup:
| Configuration Step | Required Action | Common Issues |
|---|---|---|
| SAML Metadata | Generate and download from the Sign On tab in Okta | Expired certificates |
| ACS URL | Copy from AWS and paste into Okta (no trailing slashes) | Mismatched URLs |
| Attribute Mapping | Map user.email to the NameID format |
Missing required attributes |
For attribute mapping, ensure these details are configured:
- Email:
user.email - First name:
user.firstName - Last name:
user.lastName
Verify SAML Setup
Once configured, verify that everything works correctly. Here's how:
- Test Authentication Flow: Sign in through Okta and confirm you are redirected to AWS without errors.
- Check SAML Assertions: Ensure all necessary attributes are included in the SAML assertion.
- Match URLs: Double-check that ACS and issuer URLs are identical.
If any issues arise, focus on these potential problem areas:
- Outdated SAML metadata
- Incorrect URL formatting (e.g., trailing slashes)
- Errors in attribute statement configuration
- Expired certificates
To maintain security, regularly update SAML certificates and restrict administrative access. Document each step during the setup for easier troubleshooting later.
With SAML trust in place, proceed to SCIM user provisioning in Step 2.
Step 2: Set Up SCIM User Provisioning
Once you've established SAML trust, the next step is to configure SCIM (System for Cross-domain Identity Management). This setup automates user provisioning between Okta and AWS IAM Identity Center, saving time and reducing manual tasks.
Connect SCIM Integration
To get started, open the Okta AWS IAM Identity Center app and configure SCIM provisioning with the following parameters:
| Setting | Value | Purpose |
|---|---|---|
| Provisioning URL | https://scim.identitycenter.amazonaws.com/[YOUR_TENANT_ID] |
Endpoint for syncing users |
| Authentication Mode | Bearer Token | Ensures secure API access |
| SCIM Version | 2.0 | Ensures compatibility with protocol |
| Import Groups | Enabled | Synchronises groups from Okta |
| Create Users | Enabled | Automatically creates user accounts |
| Update User Attributes | Enabled | Keeps user data updated |
| Deactivate Users | Enabled | Removes access when users are deactivated |
Set User Attributes
Ensure proper synchronisation by mapping user attributes. Use the following configurations:
-
Required Attributes:
userName→user.emaildisplayName→user.displayNameactive→user.active
-
Optional Attributes:
givenName→user.firstNamefamilyName→user.lastNamegroups→user.groups
Protect SCIM Token
Your SCIM bearer token is critical for secure communication. Follow these best practices to safeguard it:
- Store the token securely in a vault service like AWS Secrets Manager.
- Rotate the token every 90 days to minimise risks.
- Restrict token access to only those administrators who need it.
- Enable audit logging to track token usage.
- Set up alerts for any unusual token activity.
Never store SCIM tokens in plaintext or share them through unsecured channels. Always encrypt them to maintain security.
Monitor and Troubleshoot
Regularly monitor Okta's System Log to identify and resolve synchronisation issues. Watch out for:
- Failed attempts to provision users
- Errors in group membership synchronisation
- Warnings about token expiration
- Connection timeout errors
Before moving on to permission mapping, verify that user accounts are syncing correctly and that SCIM provisioning is functioning as expected. Accurate synchronisation ensures a smooth transition to configuring permission sets.
Step 3: Link Okta Groups to AWS Permissions
To ensure users have the right level of AWS access based on their group memberships, you need to link Okta groups to AWS permission sets. This builds on the SCIM setup you’ve already completed, enabling a smooth connection between identity management and access control.
Create AWS Permission Sets
Permission sets determine the level of access users have within AWS. Here’s a quick guide to creating and assigning them:
| Access Level | Recommended Permission Set | Common Use Case |
|---|---|---|
| Basic | ReadOnlyAccess | Data analysts, auditors |
| Intermediate | PowerUserAccess | Developers, QA engineers |
| Advanced | AdministratorAccess | DevOps, cloud architects |
| Custom | Service-specific policies | Specialised roles |
To create a permission set, follow these steps:
- Open the IAM Identity Center console.
- Navigate to Permission sets and click Create permission set.
- Select either AWS-managed or custom permissions.
- Set the session duration (generally between 8–12 hours).
- Add any necessary inline policies or condition statements.
Pro Tip: Use tools like AWS CloudFormation or Terraform to manage permission sets as code. This helps with version control and simplifies updates. Also, schedule regular access reviews to ensure permissions remain appropriate.
Connect Groups to Roles
Once your permission sets are ready, the next step is to map them to the appropriate Okta groups. This ensures that users inherit the correct AWS access based on their group memberships. Here’s how you can do it:
-
Review Okta Groups
Ensure that the groups are aligned with functional roles within your organisation. -
Assign Permissions Using IAM Identity Center
- Go to AWS accounts in the IAM Identity Center console.
- Select the target account(s).
- Click Assign users or groups.
- Choose the synchronised Okta groups.
- Assign the corresponding permission sets.
-
Verify Assignments
Double-check that the correct permission sets have been mapped to each group.
To maintain an organised and secure structure, consider implementing a tiered access strategy:
| Tier | Group Pattern | Permission Set Type | Access Review Frequency |
|---|---|---|---|
| Core | aws-core-* | Basic read-only | Quarterly |
| Team | aws-team-* | Service-specific | Monthly |
| Admin | aws-admin-* | Administrative | Bi-weekly |
This approach ensures that access levels are both manageable and appropriate for the roles within your organisation.
Step 4: Set Up MFA Requirements
Multi-Factor Authentication (MFA) adds an essential layer of security to your AWS access.
Configure MFA in Okta
In Okta, you can customise MFA policies to align with your organisation's specific security requirements. To get started, head to the Security section in the Okta Admin Console and create an authentication policy designed for AWS IAM Identity Center users. Here's what to focus on:
- Require a second factor for authentication to enhance security.
- Choose the MFA methods that best suit your organisation's needs.
- Apply this policy across all users accessing AWS.
Once the policy is in place, fine-tune the settings to strike the right balance between robust security and user convenience.
Fine-Tune MFA Settings
To make MFA both effective and user-friendly, consider these adjustments:
- Minimise unnecessary prompts: Adjust session settings to reduce how often users are asked for MFA, without compromising security.
- Use risk-based measures: Add dynamic checks, like monitoring login locations or IP addresses, to trigger extra verification only when something seems off.
- Set up recovery options: Provide self-service recovery methods and backup options to help users regain access if they lose their MFA device.
For users with high-privilege AWS roles, you may need stricter MFA controls. Customise these settings to meet any compliance standards your organisation must follow.
Step 5: Test the Integration
After setting up MFA, it's time to ensure everything works as intended by testing the integration thoroughly.
Testing the connection between Okta and AWS IAM Identity Center is crucial to confirm that users can log in without issues and that any problems can be identified and resolved.
Verify User Access
To ensure the integration is functioning correctly, test user authentication through these key access points:
-
AWS Management Console
- Log in using the AWS portal with Okta credentials.
- Check if permission sets align with role assignments.
- Confirm that the MFA prompt behaves as expected.
- Verify session duration settings.
-
AWS CLI Access
- Configure the AWS CLI with SSO credentials.
- Execute AWS CLI commands to confirm the correct permissions are applied.
- Check access token expiry settings to ensure they are functioning as configured.
Document any issues encountered during testing for immediate troubleshooting.
Monitor and Resolve Issues
Use AWS CloudTrail logs to investigate and address any integration problems. Here are some common issues and their fixes:
| Issue | Likely Cause | Solution |
|---|---|---|
| SAML Assertion Errors | Attribute mappings mismatch | Review and update SAML attribute statements in the Okta configuration. |
| Access Denied Messages | Incorrect permission sets | Double-check role assignments in AWS IAM Identity Center. |
| MFA Fails to Trigger | Policy misconfiguration | Ensure MFA policies are correctly applied in the Okta admin console. |
If users encounter access issues, analyse the CloudTrail logs for the specific login timestamp. This will help determine whether the problem occurred during SAML assertion, role assumption, or permission evaluation. Use these insights to fine-tune the settings and keep the user experience smooth.
Conclusion
Setting up Okta with AWS IAM Identity Center simplifies authentication while boosting security. By following the five-step checklist, you can build a secure and user-friendly system for managing identities.
Here’s what makes this integration stand out:
- Centralised Authentication: Single sign-on reduces the hassle of managing multiple passwords.
- Automated User Management: SCIM provisioning takes care of user updates automatically, saving time.
- Enhanced Security and Access Control: Permission sets and multi-factor authentication (MFA) add extra layers of protection.
- Simplified Monitoring: AWS CloudTrail logs offer clear insights into user activity, making oversight easier.
For optimal performance, it’s a good idea to regularly review your settings, keep SCIM tokens secure, and monitor events through AWS CloudTrail. Staying proactive ensures your system remains aligned with your organisation's growth and security needs.
FAQs
What are the benefits of using Okta with AWS IAM Identity Centre for managing security and users?
Integrating Okta with AWS IAM Identity Centre offers a robust way to boost security while simplifying how organisations manage their users. By leveraging Okta as your identity provider, you can streamline authentication, ensuring users access AWS resources both securely and seamlessly.
One of the key benefits of this setup is single sign-on (SSO). It eliminates the hassle of juggling multiple passwords, making life easier for users while reducing security risks. Additionally, the integration supports centralised user provisioning and deprovisioning, making it easier for organisations to manage access permissions effectively. For small and medium-sized businesses, this translates to better compliance and less time spent on administrative tasks.
How can I resolve common issues when setting up SAML integration between Okta and AWS IAM Identity Center?
If you're running into problems while setting up SAML between Okta and AWS IAM Identity Center, try these troubleshooting steps:
- Verify Metadata Configuration: Double-check that the metadata file from Okta has been uploaded correctly to AWS IAM Identity Center and vice versa. Even a small mismatch can cause authentication errors.
- Check Time Synchronisation: Ensure the system clocks of both Okta and AWS IAM Identity Center are aligned. Time discrepancies can lead to token validation issues.
- Review SAML Attribute Mapping: Make sure the SAML attributes configured in Okta match those required by AWS IAM Identity Center. Incorrect mappings can block user authentication.
- Inspect Error Logs: Both Okta and AWS IAM Identity Center provide detailed logs. These logs are invaluable for pinpointing the root cause of the problem.
- Test with a Single User: Before deploying the integration to your entire team, test it with one user to confirm everything is functioning as intended.
For small and medium-sized businesses aiming to refine their AWS setup, check out resources like AWS for SMBs by Critical Cloud. It provides practical advice on cost management, security, and performance to help your business scale effectively.
What are the best practices for securing SCIM tokens when setting up automated user provisioning?
To protect SCIM tokens during automated user provisioning, it's essential to follow these key practices:
- Secure storage: Always use a secure secrets manager or encrypted storage to keep SCIM tokens safe. Avoid embedding them directly into scripts or configuration files.
- Restrict permissions: Assign only the permissions required for provisioning tasks. This way, even if a token is compromised, the potential damage is limited.
- Regular rotation: Update and rotate SCIM tokens on a regular basis to minimise the risk of unauthorised access.
- Monitor activity: Set up logging and monitoring to track token usage and identify any suspicious or unauthorised activity.
By adopting these steps, you can strengthen security while ensuring smooth and efficient user provisioning.


